If you need to amplify your teacher's audio while recording with Swivl Capture app, you can do so using either one of Swivl's amplified audio setups.
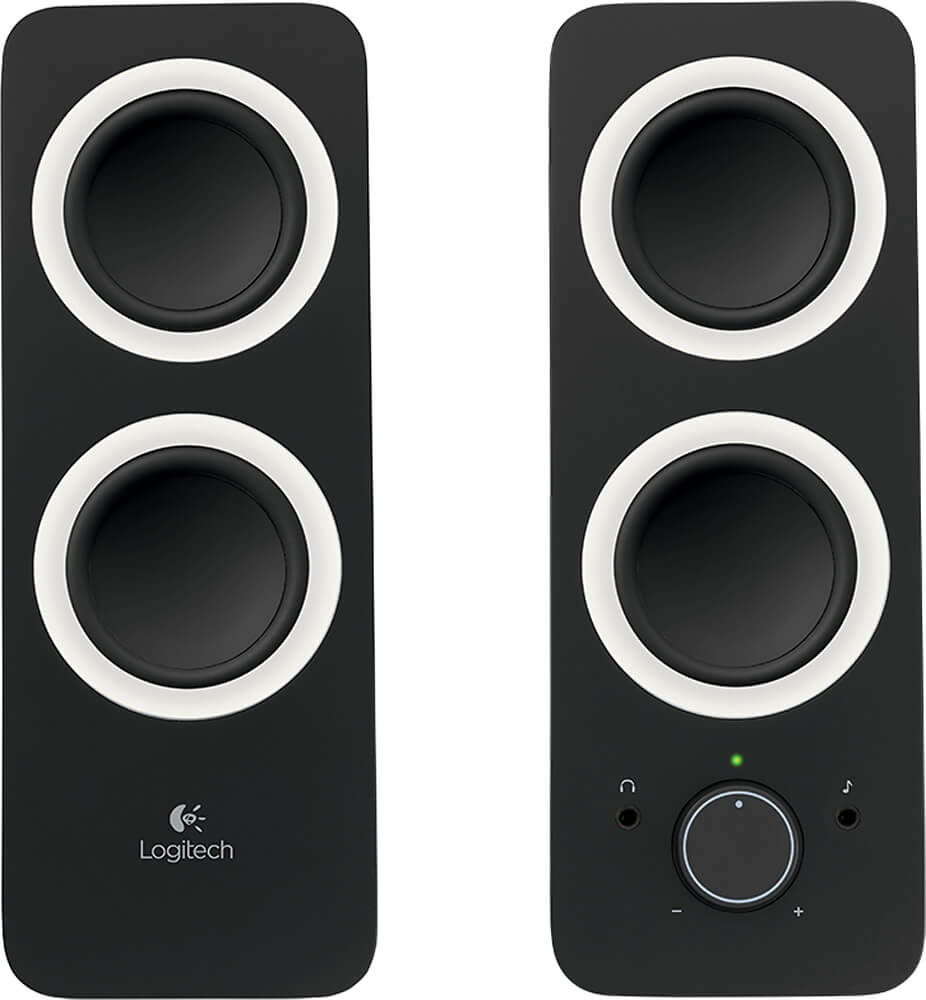
AC Speakers
Integrated Setup
AC Speakers
Equipment:
+
 +
+ 
Find more information about recommended equipment here
This setup works if you would like to record video using your Swivl Capture app and simultaneously amplify the Primary Marker:
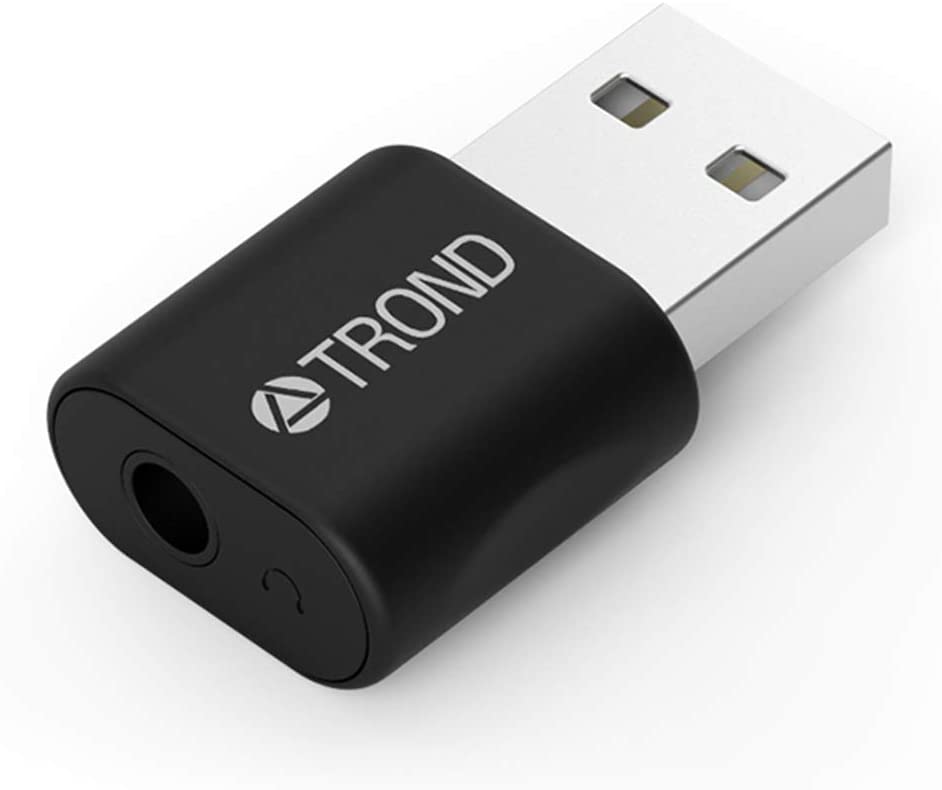
1. Connect the speakers to the Robot. The speakers' audio cord has to be plugged into the Robot's USB port. So, if the speakers have a 3.5 mm audio cord, please use the appropriate adapter.
2. Connect your mobile device to the robot and open the Swivl Capture app. Turn on the Robot and the Primary Marker.
3. Tap on the Record section to proceed to the camera view and start recording.
Tip: When the speakers connected correctly, a teacher can hear herself/himself speaking amplified before start recording. Also, ensure that the Base port is configured to speakers. You can change it any time you need it in Settings=> Base port configuration.
Integrated Setup
If you need to amplify the presenter’s voice in a large room while recording with the Swivl Capture app and have no AC speakers, or for any other reasons want to use an interactive display/PC/Windows Laptop, follow the steps below.
Swivl Robot |
Laptop or Desktop Computer |
or |
A Projector, Interactive Display (such as a SMART Board), Promethean Board, or other speaker systems in the classroom |
WARNING: do not attempt to connect any cables between the robot base and your speaker system prior to confirming the latest firmware update on the Swivl Base. Failure to complete this may result in irreversible damage to either your device and/or the Swivl Base.
1. Connect your mobile device to the Robot as usual.
2. Make sure the firmware version is up to date: see Product updates.
You can find the instructions how to update the robot, markers and Swivl Link here.
3. In Settings, select the Base port configuration To computer/To Link, depending on what accessory you are going to use.
4.Next, connect a USB-A to USB-A cable or Swivl Link to the PC/Interactive Display/Laptop/Chromebook's USB port. Recommended cable length is up to 20ft.
| or |
See all the cable-related details in our article Recommendations for Add-on Accessories and Hardware.
5. On your computer/laptop, please open audio settings and select Swivl Audio Interface for audio input.
6. To output Swivl Marker(s) through the computer's speakers:
- for Windows:
In Digital Audio Interface Properties, open the Listen tab and checkmark Listen to this device
- for Mac:
Due to the MacBook limitations, there is no possibility to output the audio directly.
That is why it is necessary to open a third-party audio app (for instance QuickTime player) and select Swivl Audio
Please note, you do not need the QuickTime to record the audio. This step merely allows you to output Swivl audio through the MacBook speakers.
After the successful setup, you can hear audio from all Swivl Markers from the USB-connected Interactive Display/PC/Laptop/Chromebook.
In this case, Swivl works as an external microphone for Interactive Display/Laptop/PC/Chromebook and transmits Swivl Markers connected.
Comments
0 comments
Article is closed for comments.